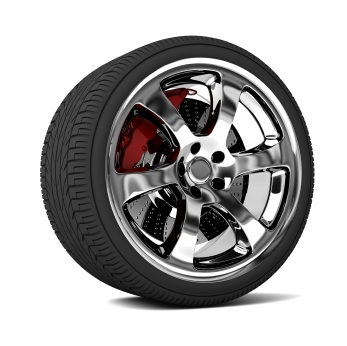
Cleaning and Polishing Chrome Wheels
Chrome wheels are very popular in the aftermarket scene because of the bling factor. It’s also expensive, a set could go as much as $5000, even more so it makes sense to maintain them to keep it looking good and shiny because it is very expensive to repair and refurbish.
Before we get started please refer to the tools required for cleaning and polishing chrome wheels for product suggestions.
Chrome or chromium is a soft metal that is used to coat metal to a beautiful shiny finish. Because it is soft, it will respond well to polishing. The downside to this softness is that brake dust can easily penetrate and damage chrome wheels in no time. Regular cleaning is needed to keep this from happening.

Step by Step Guide in Cleaning and Polishing Chrome Wheels
Clean the wheels first when washing the car, this prevents brake dust and dirt from the wheels splattering to the already cleaned car panels.
- Rinse off the wheels with a strong jet of water. This step saturates and removes loose dirt on the wheels and tires.
- Spray wheel cleaner on the wheels and tires and then agitate with a wheel brush. You may have to use several types of wheel brushes to reach some areas in between the spokes and tires.
- Use a lug nut brush to clean the area around the lug nuts.
- Wash and rinse one wheel at a time so the cleaner does not dry up and spot the finish.
- Don’t forget to clean the wheel wells while your there. Spray an all purpose cleaner then agitate with a long handled brush and rinse afterwards. Do not use the same brush you used on the fender wells on the wheels, you will contaminate the wheels with the grime from the wheel wells.
- After rinsing, wipe down the wheels and tires with a microfiber towel. Use a separate towel for the wheels to avoid cross contamination.
Claying Chrome Wheels
There will be dirt and contaminants that can’t be removed by washing alone, to remove these contaminants that stick, you will need to clay. Remember to use a separate clay bar for the wheels as you don’t want brake dust and other wheel contaminants to stick on the body.- Spray quick detailer or lubricant on the wheels to saturate the area.
- Knead and flatten the clay bar then rub back and forth over the wheels. You can use your fingers to feel for any contaminants sticking on the surface, clay until the surface feels smooth to the touch.
- Check the clay bar as you go to check if the surface is soiled. When a side gets dirty, just knead and fold to reveal a clean area then repeat step 2.
- Wipe the excess lubricant and clay residue with a microfiber towel.
- Repeat until you finish all four wheels.
Polishing Chrome Wheels
After you clean and clay, you are ready to polish the chrome wheels. To get the best results, use a polishing tool attached to a drill for consistency in speed and power.
- Apply chrome polish on the wheel using a foam applicator. Work on one wheel at a time.
- Using the polishing tool attachment to polish the wheel. Start with a low speed then gradually increase until you break down the polish or until the polisher starts to diminish.
- Buff excess polish with a microfiber towel.
- Repeat on until you polish all four wheels.
Waxing Chrome Wheels
Now you’re chrome wheels are prepped and ready for wax application. Applying wax adds a layer of protection from dirt and brake dust that can do some serious damage. Wax also minimizes brake dust sticking on the chrome.
The good thing about regularly applying wax is that you’ll only need to use water to rinse off dirt and brake dust off and there is no need to scrub.
Final Touches – Applying Tire Dressing
Make sure that the tire dressing you are using is water based and has no silicone in it. Silicone can do some damage on the tires when used extensively. Apply thin coats on the tires with a foam applicator so it does not splatter as the tire rotates. Tire dressing rejuvenates the look of the tire and adds some protection against UV rays, leaves a nice black finish.
Related Articles
[adrotate banner=”6″]
